
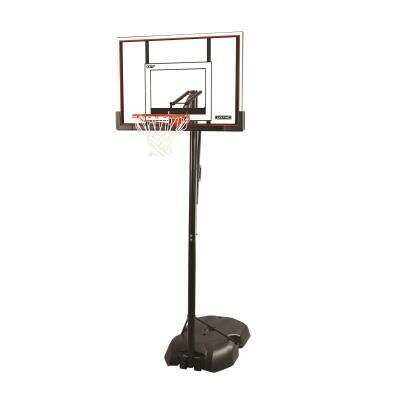
To put a net on a Lifetime Elite Basketball Hoop, hook the net onto the little hook and pull it until it comes through. This may be a bit difficult if the net is old or damaged.
However, with some patience, you can successfully attach a new net to your basketball hoop.
Tools Needed For Net Installation
Before you start the process of putting a new net on your Lifetime Elite Basketball Hoop, it is important to have the necessary tools handy. Having the right tools ensures a successful and efficient installation process. Here is a list of tools required for a successful net installation on a Lifetime Elite Basketball Hoop:
List Of Tools Required For A Successful Net Installation On A Lifetime Elite Basketball Hoop:
- Hex wrench
- Pole bracket
- Net
- Step stool or ladder
The hex wrench is an essential tool that is used to tighten and fasten the bolts and nuts during the installation process. The pole bracket is required to secure the net to the basketball hoop pole securely. It is important to choose a high-quality net that is durable and weather-resistant.
In addition to these tools, you may also need a step stool or ladder to reach the height of the basketball hoop. This ensures your safety during the installation process and makes it easier to attach the net to the rim and pole.
Importance Of Having The Necessary Tools Handy Before Starting The Installation Process.
Having the necessary tools handy before starting the installation process is crucial for a smooth and successful net installation on your Lifetime Elite Basketball Hoop. Here’s why:
- Efficiency: By having all the tools ready, you can save time and effort. You won’t have to pause the installation process to search for missing tools, ensuring a seamless installation experience.
- Precision: The right tools enable you to install the net accurately and securely. Using the appropriate tools ensures that the net is attached tightly to the rim and pole, minimizing the risk of it coming loose during gameplay.
- Safety: With the required tools within reach, you can focus on the task at hand without compromising your safety. By using a step stool or ladder, you can maintain stability while accessing the height of the basketball hoop.
- Durability: Using the correct tools ensures that the net is installed properly, enhancing its longevity. A properly installed net is less likely to get damaged or wear out quickly, ensuring hours of uninterrupted basketball play.
In conclusion, having the necessary tools readily available before starting the net installation process on your Lifetime Elite Basketball Hoop is essential for efficiency, precision, safety, and durability. So, make sure to gather all the required tools mentioned above, and enjoy the seamless experience of putting a net on your basketball hoop.
Step-by-step Guide For Net Installation
Installing a net on your Lifetime Elite Basketball Hoop is a simple process that can enhance your basketball-playing experience. By following these step-by-step instructions, you’ll have your hoop ready for some exciting games in no time. Let’s dive right in!
Step 1: Prepping The Basketball Hoop
Before attaching the net, it’s important to prepare your basketball hoop by cleaning it and checking the condition of the rim and net hooks. Follow these substeps to ensure a proper setup:
- Clean the hoop and remove any debris or dirt that may have accumulated. This will help provide a clean surface for proper net installation.
- Inspect the condition of the rim and net hooks. Look for any signs of damage or wear and tear that may affect the net’s stability. Make sure the hooks are intact and securely attached to the rim.
Step 2: Attaching The Net
With the hoop prepped, it’s time to attach the net. Follow these substeps for a secure installation:
- Align the net hooks with the rim evenly. Make sure each hook is aligned with its corresponding attachment point on the rim.
- Starting from one side, slide the net onto the hooks. Make sure it is secure and properly positioned. Repeat this step for the other side of the net.
Step 3: Adjusting The Net Tension
Once the net is attached, it’s crucial to adjust the tension for optimal gameplay. Follow these substeps to ensure the net is neither too tight nor too loose:
- Check the tension of the net by gently tugging on it. It should have some give without being overly loose or sagging.
- If the net is too loose, carefully adjust the attachment points on the rim to tighten it. If it’s too tight, loosen the attachment points slightly.
Step 4: Final Inspection And Maintenance Tips
After adjusting the net tension, perform a final inspection and follow these maintenance tips to prolong its lifespan:
- Check the net for any loose or damaged areas. Make sure all the hooks are securely fastened to the rim.
- To keep your net in optimal condition, regularly clean it and remove any debris or dirt that may accumulate.
- Inspect the net hooks periodically and ensure they are securely attached. If any hooks show signs of wear or damage, replace them promptly.
- Consider storing your basketball hoop indoors during extreme weather conditions to protect the net from excessive wear and tear.
By following these steps, you can easily install a net on your Lifetime Elite Basketball Hoop and enjoy hours of fun and competitive play. Remember to regularly inspect and maintain your net to keep it in top-notch condition for a long-lasting playing experience. Now, it’s time to grab your ball and start shooting some hoops!
Tips And Tricks For A Perfect Net Installation
Putting a net on your Lifetime Elite Basketball Hoop can be a simple and rewarding task. By following a few tips and tricks, you can ensure a perfect net installation that not only looks great but also adds to the overall playing experience. Here are some helpful suggestions to make the process easier and more efficient:
Tip 1: Using A Ladder Or Step Stool For Easy Access To The Basketball Hoop.
When it comes to installing the net on your Lifetime Elite Basketball Hoop, having easy access to the hoop is essential. Using a ladder or step stool can provide the necessary height to reach the hoop comfortably. This ensures you can attach the net securely and avoid any unnecessary stretching or strain on your body.
Tip 2: Using Zip Ties Or Twist Ties To Secure The Net Hooks For Added Stability.
Securing the net hooks for added stability is crucial to prevent the net from coming loose during intense play. Zip ties or twist ties can be used to secure the net hooks tightly to the rim. This provides extra support and ensures that the net stays in place even during aggressive dunks or fast-paced games.
Tip 3: Applying Lubrication To The Net Hooks For Easy Installation And Removal.
Installing and removing the net from your Lifetime Elite Basketball Hoop can be made easier by applying some lubrication to the net hooks. This can be a silicone-based lubricant or even a regular cooking oil. Lubricating the hooks reduces friction and allows for smooth and effortless attachment and detachment of the net.
Tip 4: Regularly Inspect the Net For Wear And Tear To Prevent Accidents.
Regularly inspecting the net for signs of wear and tear is essential to prevent accidents during play. Check for any frayed or broken strands, and if you notice any damage, it’s important to replace the net immediately. This ensures the safety of players and prolongs the lifespan of the net.
Tip 5: Removing The Net During Severe Weather Conditions To Prevent Damage.
To protect the net from damage, it’s advisable to remove it during severe weather conditions such as strong winds or heavy rain. Extreme weather can cause the net to tear or get tangled, potentially leading to costly repairs or replacements. By taking the net down during severe weather, you ensure its longevity and minimize the risk of damage.
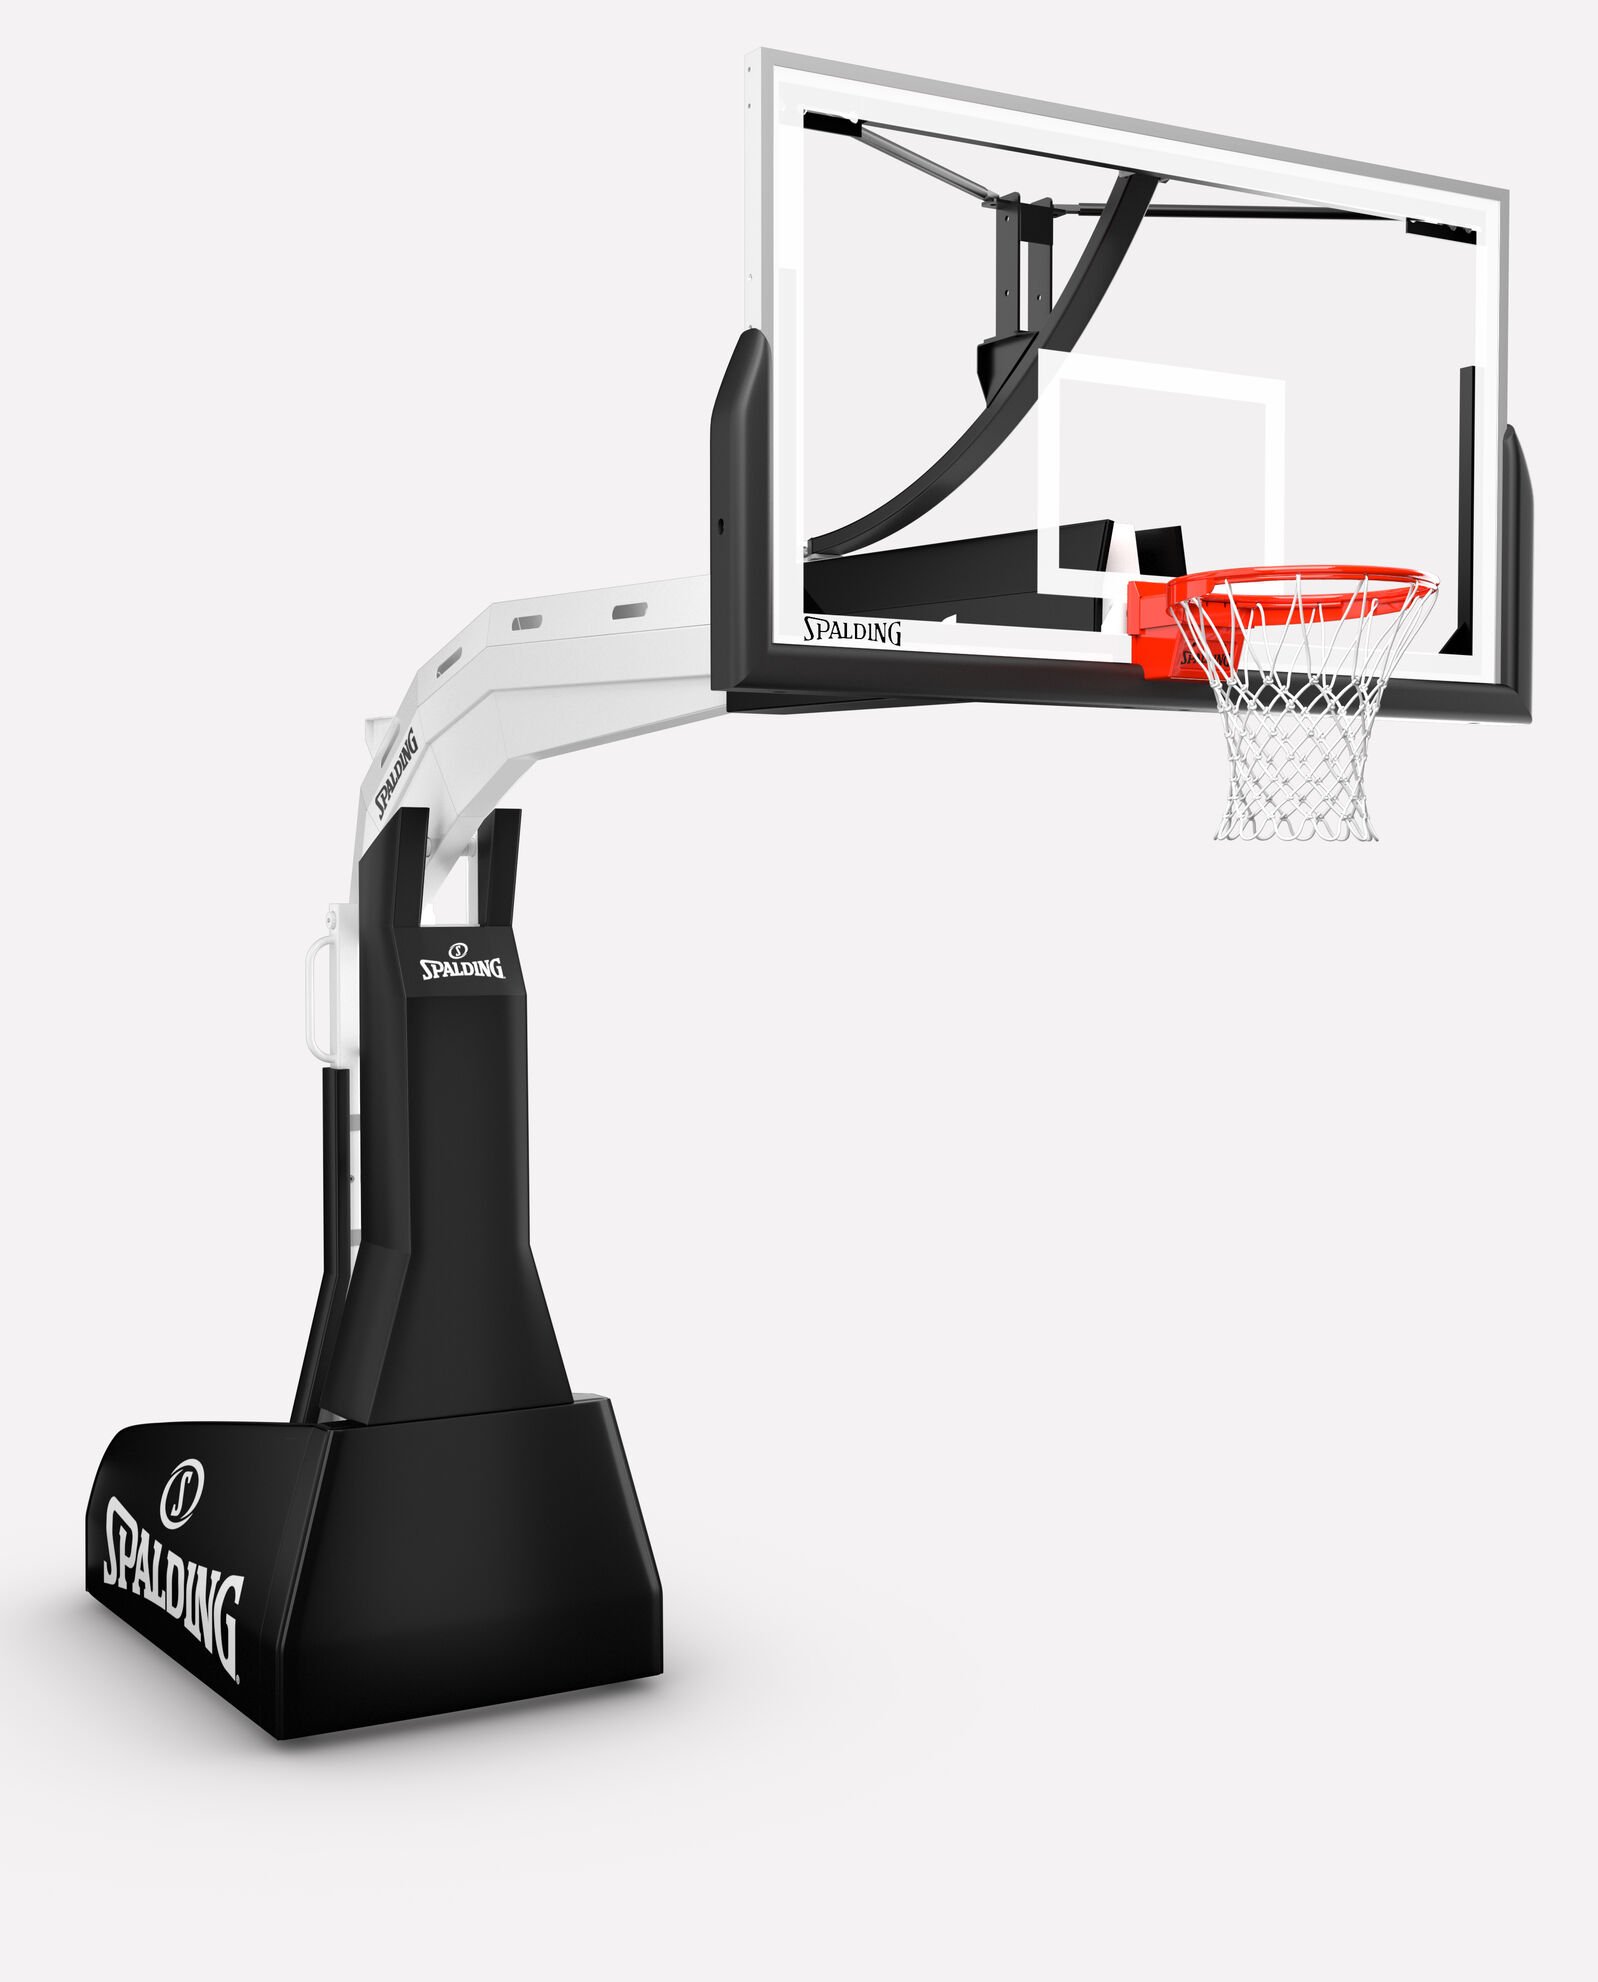
Credit: www.spalding.com
Frequently Asked Questions Of How To Put A Net On A Lifetime Elite Basketball Hoop?
How Do You Install A Basketball Hoop Net?
To install a basketball hoop net, first, locate the hook on the rim. Then, pull the net through the hook until it is secure. If the net is old or damaged, it may be a bit challenging. You can find instructional videos on YouTube for specific basketball hoop models.
How Do You Adjust A Lifetime Basketball Net?
To adjust a Lifetime basketball net, start by finding the small hook underneath the net. Pull the net through the hook until it comes out. If the net is old or weathered, it may be more difficult to adjust.
How Do You Put Together A Lifetime Basketball Goal?
To put together a Lifetime basketball goal, follow these steps: 1. Use the provided tools. 2. Attach the pole brackets. 3. Insert the hex bolts. 4. Put on the net. 5. Adjust the pull pad if needed. For further assistance, refer to the assembly videos on Lifetime Products’ YouTube channel.
How Do You Install A Basketball Net Without Hooks?
To install a basketball net without hooks, start by finding a small hook under the rim. Pull the net through the hook until it comes through completely. This might be a bit challenging if the net is old or damaged, but it can still be done.
Conclusion
To put a net on a Lifetime Elite Basketball Hoop, follow the simple steps mentioned earlier. Start by attaching the hooks to the rim, then stretch the net around the rim evenly. Secure the hooks tightly so that the net stays in place during gameplay.
Remember, proper installation ensures optimal performance and durability. Now, you’re ready to enjoy hours of basketball fun with your new netted hoop!